All six user roles have the ability to enter new incidents, although the form they fill out will vary from role to role. Administrators and Supervisors complete the same form. Their form has access to all sections of the incident, allowing them to enter all details from target start date to transactions.
*Fields that are marked with a red checkmark ( ) are required fields.
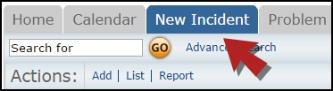
- Click on the New Incident tab.
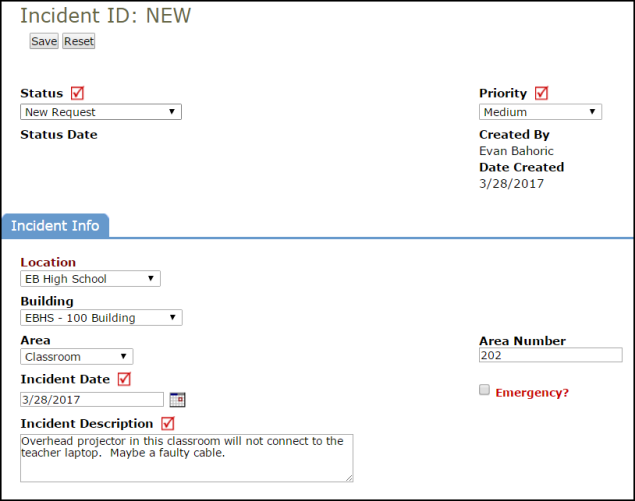
- In the Status drop down box, choose New Request. *Note: If entering an incident that is already in progress or has been completed, you can choose the appropriate status.
- From the Priority drop down box, select the appropriate priority.
Incident Info
- Identify where the work needs to be done by choosing the Location.
- If your organization utilizes the Building field, select one from the drop down box.
- Choose the general Area type that best fits the location of the incident request.
- Enter the specific area in the Area Number field. The Area Number field is alphanumeric and is where you can enter specific room names or numbers.
- The Incident Date will automatically populate with today's date. *Note: If entering an incident that has already been completed, this date can be changed to the date of the actual request.
- Checking the Emergency? check box, will make this incident appear in the Work Center section of the home page as an emergency incident.
- Enter the Incident Description in the open text box.
Contact Info
- Identify the name of the requester in the Contact Info section. If the requester's name does not appear in the drop down list, choose OTHER and enter the requester's first name, last name, and email address. *Note: This will add the contact as a requester.
Outage Period
- Allows you to enter the Begin and End Downtime dates and times and the Total Downtime during an outage.
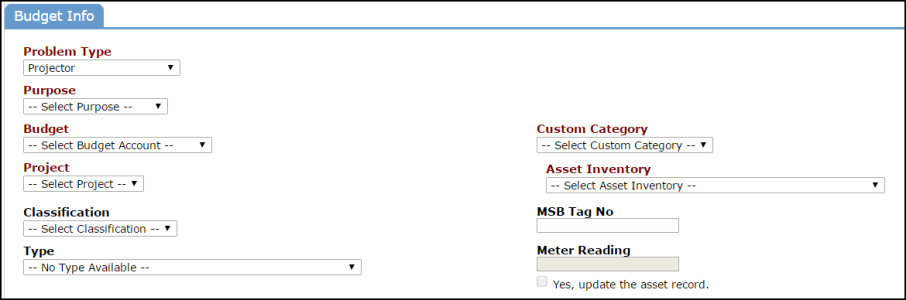
Budget Info
- Select the appropriate Problem Type to identify what type of work is being requested.
- If the Problem Type you selected has a Questionnaire associated with it, the screen will refresh to include those questions. Answer them accordingly.
- Choose the Purpose Code that best describes why the incident is requested.
- If your organization is utilizing Budget Codes, the Custom Category, Projects, Asset Inventory, or Classifications and Types, identify any of the codes by clicking on the drop down boxes. You can also enter the MSB Tag No and Meter Reading for the asset.
Assignment Info
- As an Administrator or Supervisor, you can either directly assign an incident to yourself or to another user in the Assigned To drop down box or you can assign it to a Work Queue.
- Fill in the Target Start Date, Requested Completion Date, Target Completion, Estimated Costs, and Estimated Hours. *Note: These are all optional fields.
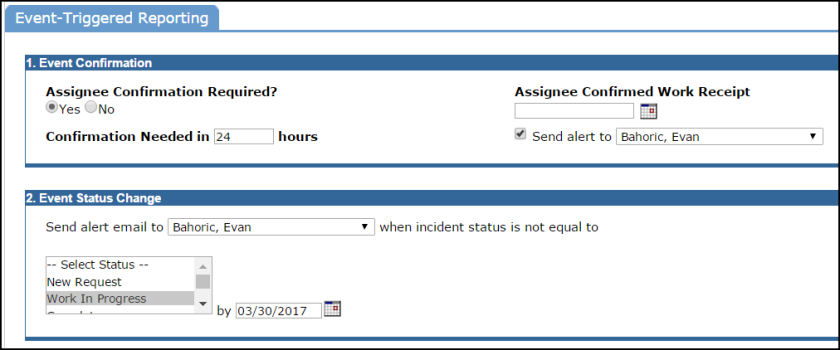
Event-Triggered Reporting
- This section allows you to require the assignee to confirm they have seen the incident or set alerts when the status of the incident has not been changed by a specific date or time.
Deferral
- If the work needs to be deferred, you can enter that information in this section.
Action Taken
- The Action Taken section will typically be used once the issue has been resolved. Any notes you enter in the Action field will be visible to the requester of the incident.
- Journal Notes can be added to the incident for internal communication.
- You can also fill out the fields to add this question and answer to the Knowledge Base for future reference.
- Click Save to submit the request.
